Introduction
Confronted with a disk stuck in your Xbox One? You’re not alone. Many gamers have encountered this frustrating issue, preventing access to favorite games and media. Fortunately, resolving this problem doesn’t always require professional intervention. In this detailed 2024 guide, we’ll explore various methods to safely eject the stuck disk and restore your Xbox One to optimal functionality. By following these steps, you can avoid unnecessary stress and continue enjoying your gaming experiences.

Understanding the Disk Ejection Problem
Frequent use can sometimes lead to mechanical issues in gaming consoles, including our beloved Xbox One. A disk might get stuck due to various reasons, from minor technical glitches to mechanical failures. It could be a misalignment within the disk drive or more complex hardware malfunctions. Recognizing the cause guides you to the appropriate solution. Understanding these root causes is crucial—it not only aids in addressing the current problem but also helps in preventing future occurrences.
Preparatory Steps Before Attempting a Fix
Before diving into technical fixes, a few preparatory steps can enhance your troubleshooting efforts. Ensure your Xbox One is powered off and disconnected from any power sources. This provides safety and prevents further damage. Next, gather necessary tools: a flashlight to inspect the disk drive and a straightened paperclip for manual ejection if needed. Finding a well-lit and clean workspace supports a smoother and safer resolution process.
Standard Ejection Methods
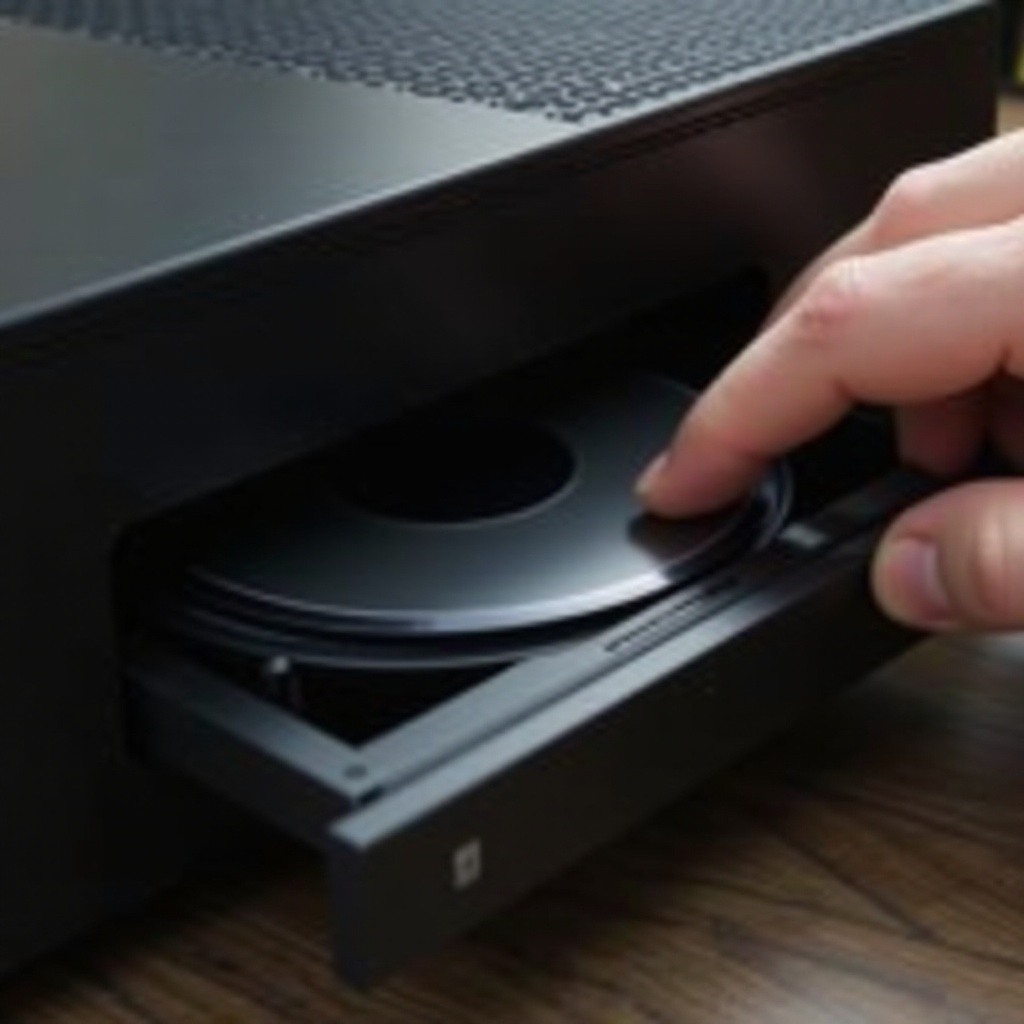
Sometimes, the solution is simpler than anticipated. Start by turning the console back on and pressing the eject button. If the disk doesn’t come out, try power cycling your Xbox One by holding the power button for 10 seconds. Allow it to rest, then turn it back on. An alternative solution is performing a system reset by navigating to settings and selecting ‘Restart Console.’ These standard methods can often nudge a disk free without further intervention.
Manual Ejection Techniques
When standard methods don’t yield results, manual ejection techniques might be necessary. Approach these methods with caution to prevent harm to your console.
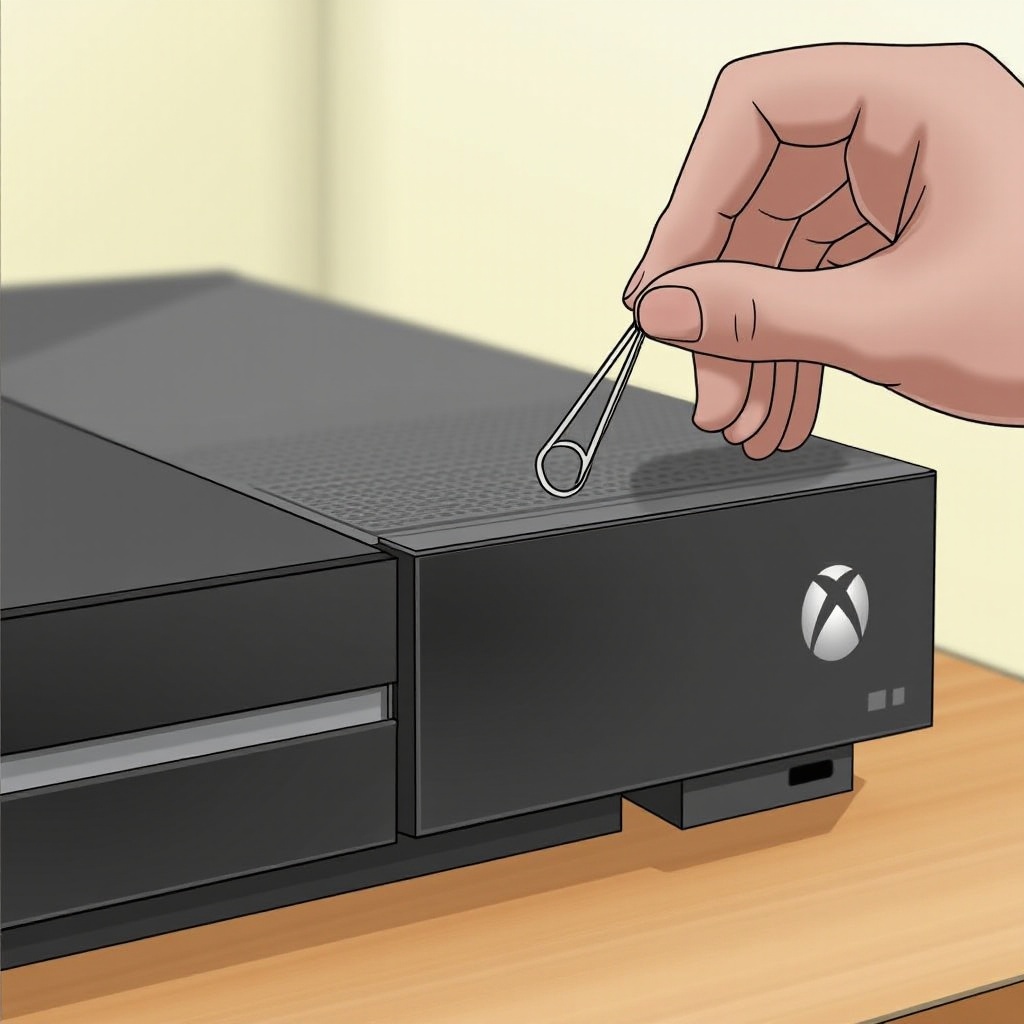
Using the Manual Eject Hole
- Locate the manual eject hole, typically near the disk drive opening.
- Insert the straightened paperclip into the hole gently.
- Apply slight pressure until you feel resistance, indicating contact with the ejection mechanism.
- Push the paperclip a bit more until the disk begins to emerge.
- Carefully remove the disk by hand.
Tilt and Shake Method
- Unplug and disassemble the Xbox One for safe handling.
- Lightly tilt and gently shake the console backward.
- Use caution to avoid damaging the console during this process.
- Listen for movement inside the drive, prompting the disk to dislodge.
- Return the console to its original position and attempt a standard ejection.
Alternative Solutions if the Disk Remains Stuck
If manual attempts fail, external solutions might be required. Reaching out to Xbox Support or consulting a professional technician can be considered. These experts have the tools and knowledge to safely open the console and retrieve the disk without damaging the Xbox One. Additionally, ensure warranties or service agreements are reviewed before professional intervention, preventing unexpected costs. Patience and caution remain key when dealing with persistent issues.
Preventive Measures for the Future
To avoid facing a similar problem in the future, practice regular maintenance of your Xbox One. Periodically clean the console using a soft, dry cloth, and ensure it’s stored in a dust-free environment. Avoid inserting damaged or cracked disks as these can lead to jams. Also, be mindful of the console’s usage time, allowing it to cool down after prolonged gaming sessions. By taking these preventive steps, you enhance the longevity and performance of your gaming console.
Conclusion
Tackling a disk stuck in an Xbox One can seem daunting, but with the right steps, it’s manageable. Whether using standard ejection methods or manual techniques, ensure you proceed carefully to protect your console. Post-resolution, preventive measures will safeguard against future incidents, ensuring smooth gaming experiences.
Frequently Asked Questions
What should I do if my Xbox One doesn’t recognize the disk after removal?
If the console fails to recognize the disk post-removal, ensure the disk and drive are clean. Restarting the console and checking for system updates can also aid in resolution.
Can a stuck disk cause permanent damage to my Xbox One?
While a single stuck disk rarely causes permanent harm, repeated issues might indicate underlying problems. Regular maintenance and cautious handling can prevent long-term damage.
How often should I clean my Xbox One to prevent disk issues?
It’s advisable to clean your Xbox One every three months. However, if your environment is particularly dusty, more frequent cleaning might be necessary to ensure optimal performance.